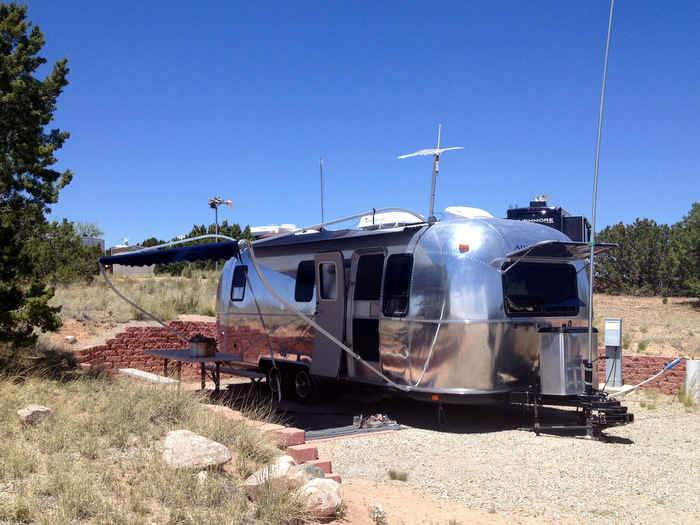
This week we’re in Santa Fe at a nice RV park on the south end of town. Santa Fe seems like a cool town with lots of hip restaurants, a downtown full of history and museums, and tons of hiking in the mountains on the outskirts of town. You want the truth though? With the exception of dinner out with our former traveling friend (hi Cassie!) on Sunday night, we haven’t gotten out at all this week to explore the town. We do have some grand plans starting this afternoon and continuing through the weekend, but as of right now we’ve seen very little of the town that wasn’t the inside of Lowe’s, Target, or the Sprouts grocery store.
If all goes as planned I will have some fun adventures to share at the end of the weekend, but for now I want to show you a few exciting interior updates that we’ve been working on this week. Since we don’t stay at parks with full hook-ups very often, we like to take advantage of the resources at our disposal to tackle projects that can be otherwise difficult when dry camping or boondocking. For example, when we stayed in Albuquerque I cleaned the inside of the oven using a homemade mixture of baking soda and vinegar. It worked & the oven is now all sparkly, but I ended up using a massive amount of water to remove the baking soda paste. I also removed and washed all the window screens which is another water intensive project that I would never attempt without a water/sewer hook up. This time around in addition to some more boring house keeping projects (vacuuming the outside storage compartments, touching up the paint in the bedroom, and greasing the toilet seal), we also took on two fun interior design projects that we’ve been talking about for quite some time now. The first involved a pile of postcards and a blank wall.
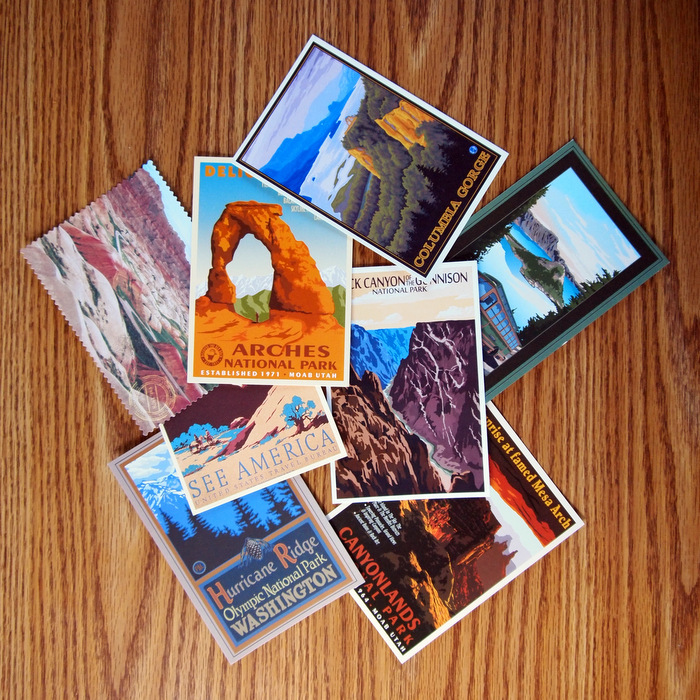
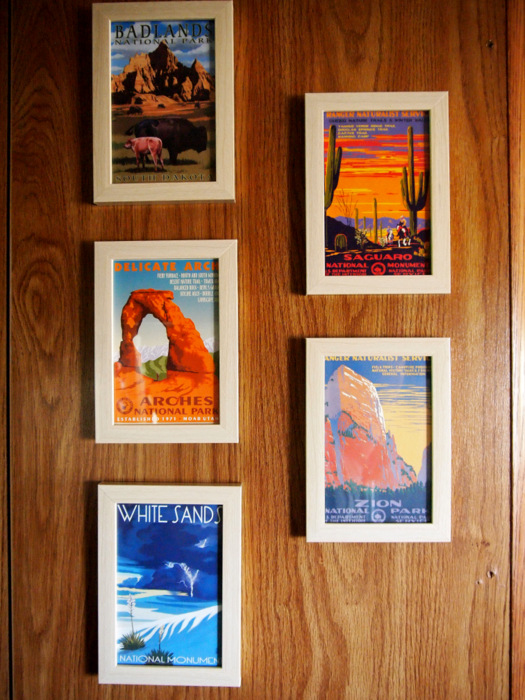
We’ve been collecting these vintage inspired postcards from national parks for the past two years. I got the idea to create a wall collage with them over a year ago, but for some reason I was stuck on the idea of finding a single frame that could hold 6-8 postcards. Of course, finding this frame proved to be impossible because anything suitable was either too big to fit on the wall, or too heavy to hang. It was only recently that I realized the solution was a bunch of smaller frames instead of one big one. Duh! Sometimes I get stuck on an idea and have a hard time seeing the alternate options. Gotta work on that. Once I decided on small frames it was easy. We found some nice 4 X 6-inch wooden frames at Target for $1.99 each. I wanted more than five, but that’s all they had in the light colored finish, so that’s what we’re starting with. Hanging the frames took about 10 times longer than it should have because I had to employ my arch nemesis…math. If it was just me I would have simply eye-balled the whole thing, stuck them up there, and called it a day. But I knew that wasn’t going to fly around here because the lack of symmetry was sure to drive my detail oriented husband crazy every time he walked past them. So with a little help I measured, drew diagrams, divided fractions, and learned how to properly read a measuring tape (did you know that some people use all the lines, not just the 1/4 and 1/2? Crazy right?) After waaaaay too much time and a few readjustments I made it happen!
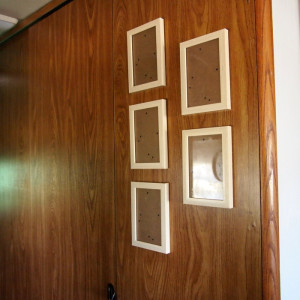
Even I have to admit that the frames look really nice all spaced out correctly with the same distance between each one. I guess math does have some practical uses. I used Command Picture Hanging Strips to mount the frames. If you’ve never used this product before it’s pretty genius. Basically it’s two pieces of velcro with sticky backs. One goes on the wall, and one goes on the frame. There’s a pull tab at the bottom of the piece that goes on the wall which makes removing them and repositioning a breeze. The package said to use one for each 4 X 6 frame, but I used two just to be on the safe side. We’ve used these on other things in the Airstream with success, but these frames have real glass in them, so I really don’t want them to fall off. We haven’t driven anywhere since putting them up. Cross fingers and toes that they stay put.
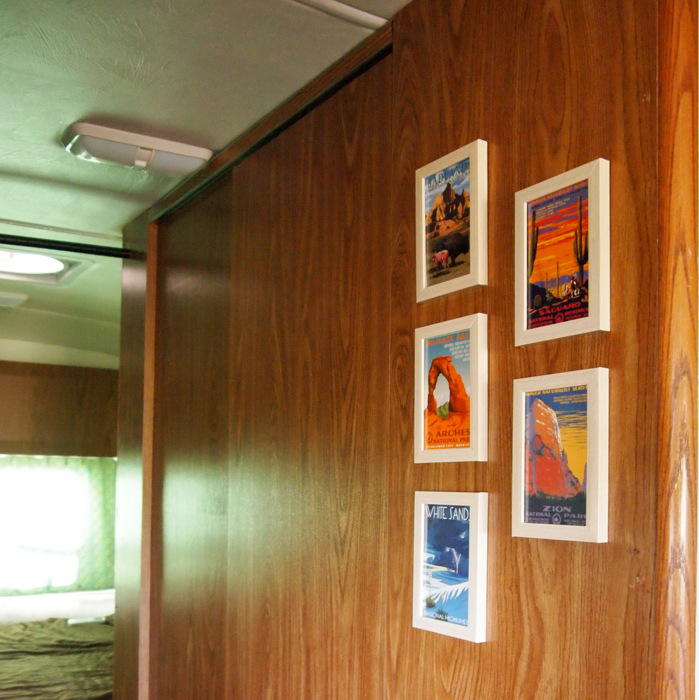
Here’s another view looking down the hall. The bathroom door is just to the left of the frames. As you can see it was previously a large expanse of boring wood paneling. I’m so happy to finally see some color in this space. We still have more postcards, and plenty of room on the wall for more frames, so the next time we come across a Target I’ll look for more frames.
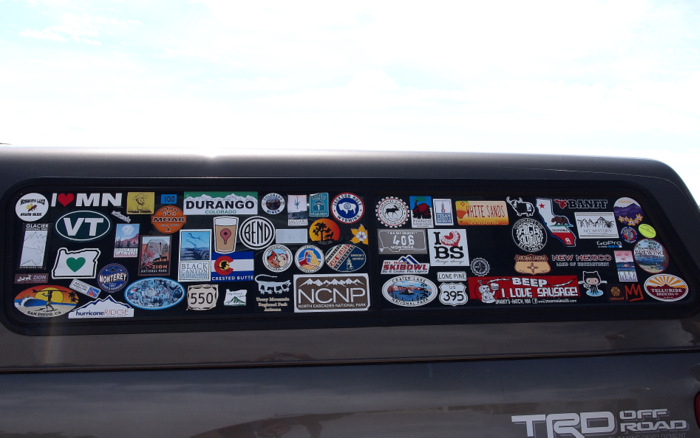
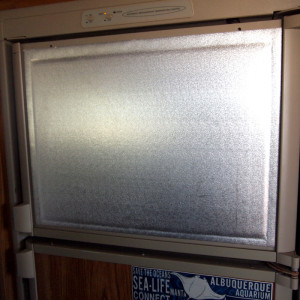
Our next project was another one we’ve been contemplating for a long time. The biggest problem I have with our RV fridge (besides the tiny size) is that it’s not magnetic. Our fridge has the same wood veneer finish as the cabinets and bathroom room wall, which is not only ugly, but totally useless when it comes to holding our growing magnet collection. Like many other travelers we know, we feel compelled to collect some sort of memorabilia from all the cool places we visit. Magnets are a great choice because you can find them find pretty much anywhere. Except the obvious problem with magnets is that you need a magnetic surface on which to stick them. Because we lack such a surface we originally decided to collect stickers instead. They’re cheap, easy to find, and can go anywhere. Our sticker collection is on the window of our truck cap. This is what it currently looks like.
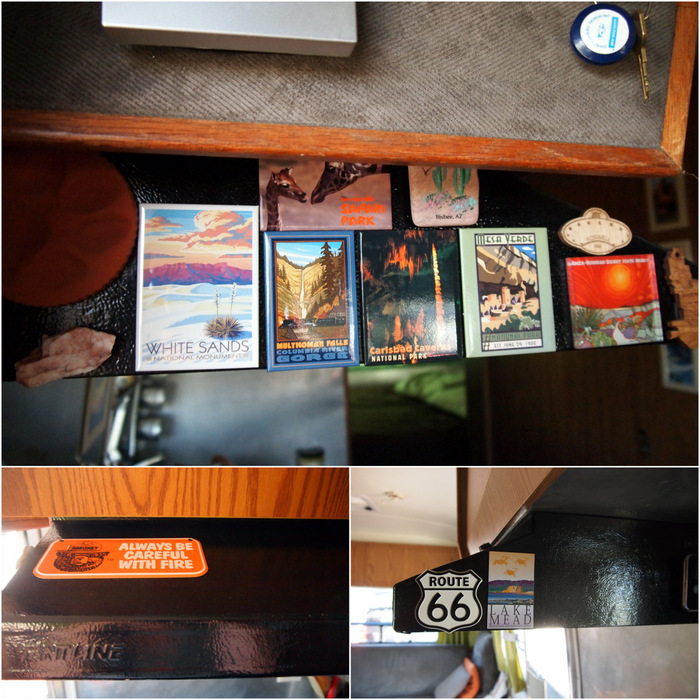
As you can see there’s not much room left on there. The sticker collection is a really cool, but was never a perfect solution. At some point we’ll get a new truck and have to say good bye to all our stickers. Also, the outside elements have caused a few to fade and curl on the edges. Even though we still love our stickers, at some point we gave in and began to collect a few magnets in an effort to have a more permanent collection of memorabilia. The only magnetic surface we had was the stove vent hood, so that’s where they went. It filled up fast, and honestly was never a great choice because it gets really dusty up there and I like to wipe it down at once a day- which is hard to do when it’s filled with magnets.
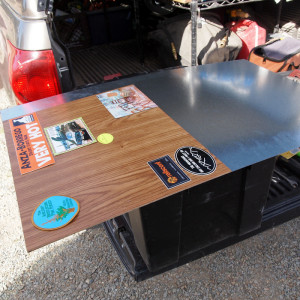
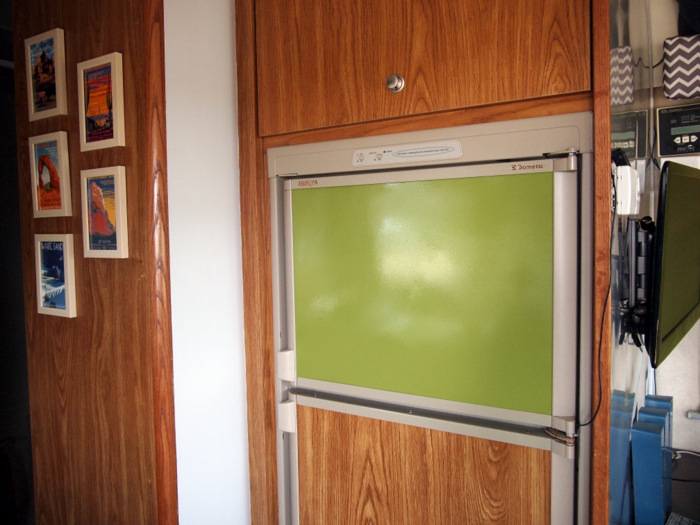
SOOOO….we decided the only thing to do was to make our fridge magnetic. We first came up with idea last December, but in the end got caught up in the some other interior updates, and never went through with it. Then a few weeks ago I spotted a post on Instagram from the Currently Wandering family that showed them doing exactly what we had planned to make their fridge magnetic! My interest was once again sparked and I told Tim that this time we should really do it. The process was surprisingly simple. We decided to start with just the freezer panel and see how it went before doing the larger fridge panel. We bought one 24″ x 36″ piece of sheet metal that cost 20 bucks. That was twice the amount we needed, but the next size smaller was not wide enough, so we went with it. Tim removed the plastic molding from the top of the freezer and pulled out the wood veneer panel. It was not stuck down with glue, and easily slide out. He then used this piece as a template to mark where the sheet metal needed to be cut.
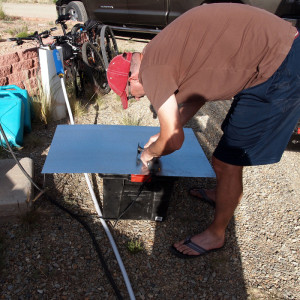
The tool he used to cut the sheet metal is called an Oscillating Multi Tool. This is one of the few power tools he kept when we sold our house and got rid of the majority of our belongings. It has come in handy several times, and once again proved to be the right tool for the job. The sheet metal was really thin and he was able to score it with the tool and then bend it until it snapped. Notice the use of proper power tool operating footwear in this photo.
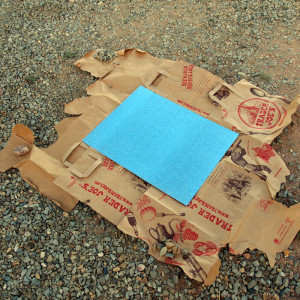
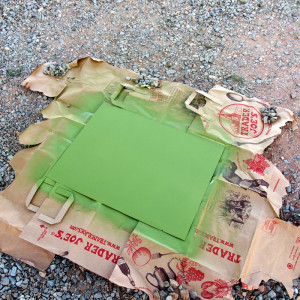
The next step was to paint the metal. At first I wanted to go with a stainless steel finish to mimic the look of a stainless steel appliance. Except we couldn’t find a spray paint that fit this description, so we went with a color instead. I was a little hesitant at first, but Tim pointed out that if we didn’t like it we could always flip the metal over and try a different color. Sounds like a plan. I chose green of course. Spray painting outside was little challenging since the pesky bugs kept throwing themselves at my wet paint, but eventually after 4 coats with a wet sand between coats 2 and 3 it was as good as it was going to get.
We have a green fridge!
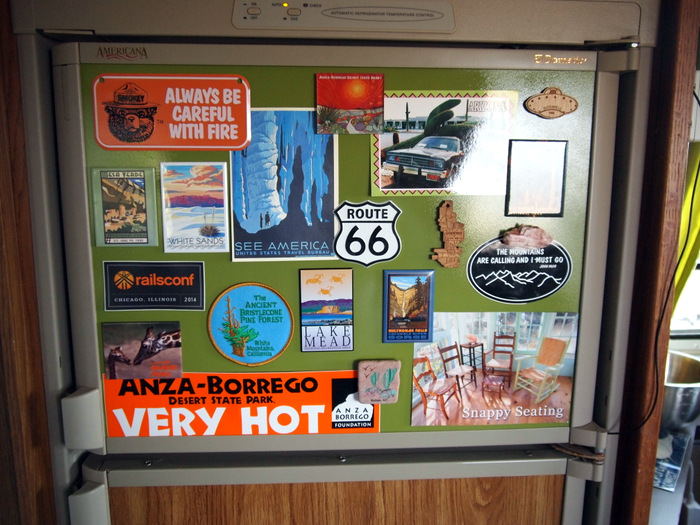
It might be little much for some people, but we LOVE it! Here it is with all of our magnets and a few other pieces of fridge art.
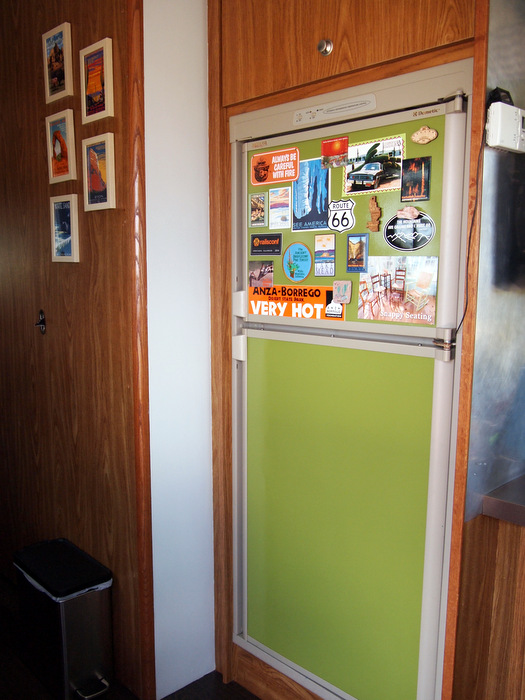
We liked it so much that we went out and got another piece of sheet metal for the bottom panel. Now we have plenty of room to keep growing our magnet collection.
So there you have it. Two projects and ton of added color!
Some of the items on this page are part of our Amazon affiliate store. We are paid a small percentage if you click through and purchase an item. The prices are the same as buying directly from Amazon and the funds help cover the cost of running this blog. Thanks so much for your support!

10 comments
Looks great you guys!
Thanks Leigh! We really love how both projects came out. I’m so happy to finally have a large magnetic surface. And you really can’t go wrong with a green fridge :)
Very cool! We’re heading to Storrie next week and plan to do a big mod. We’re taking out our heavy, uncomfortable sofa and putting in a window seat with a memory foam cushion.
I love those vintage postcards. I think I’m going to steal that idea from you and start collecting those. I’ve been getting smashed pennies at all our stops if they have them. I drill holes in them and make earrings with them. I buy extra smashed pennies of the really cool looking ones and give them as presents. They probably sound kind of tacky but they’re surprisingly pretty. I have gotten a lot of nice turquoise beads in our travels and they go great with the copper.
It was nice getting to meet you and Tim. I hope you’re having fun in Santa Fe. The Georgia O’Keefe museum is wonderful, but then, she’s kind of my idol.
Hi Pam!
It was nice to meet you to. Hopefully we’ll run into each other again somewhere. I don’t think the penny earrings sound tacky at all! I bet they are especially beautiful mixed with the turquoise beads. We’ve had good luck finding the vintage postcards at almost every national park. You can also buy them in bigger poster sizes, but then we really wouldn’t have room to display them.
Good luck with your window seat. Sounds like a big job!
Love the retro green! What a genius upgrade!
Nina
Thanks Nina! The green was kind of a spur of the moment decision so I am really pleased with how it looks :)
That truly is a genius upgrade. Our only surface for magnets is the toaster. We put one lonely Elvis magnet on it and two kitchen timers. It’s full now. The green is good – very cheerful.
The toaster is a pretty limited space to work with! You’re right the green is very cheerful. It makes me smile every time I see it :)
Hi. Love your blog and the idea of the metal for fridge is something we have contemplated.
Any chance of your hubby telling me how he gets your current location on the blog? a plugin? Presuming you are using blogger? or is it wordpress?
thanks
Kent
The postcards look fabulous and I love the avocado green fridge – great contrast against the wood paneling.