September/October 2019
It’s been a while since I wrote one of these posts. Our last major Airstream update project was back in the spring/summer of 2018 when we had her professionally polished (BEST decision ever) and I tackled the job of painting all the interior cabinets and wood walls a combination of bright white & smoky blue.
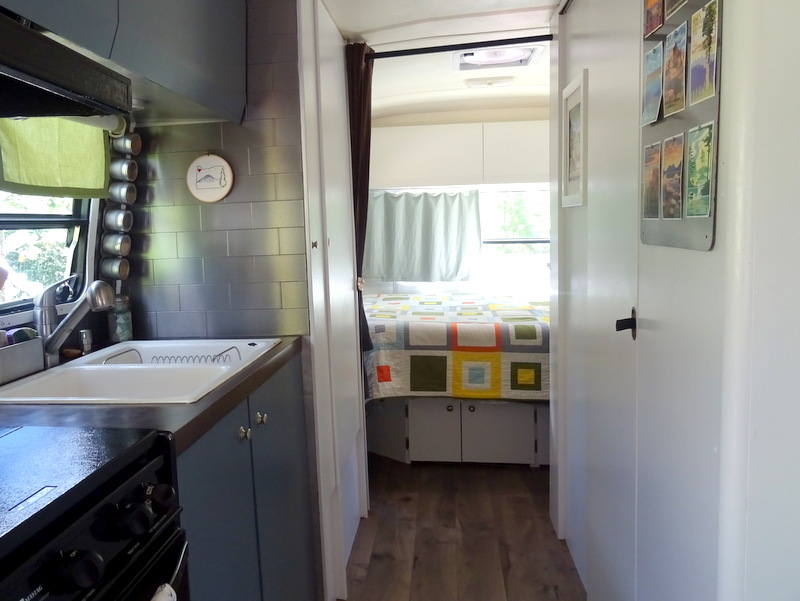
At this point, it would seem that there was nothing else we could possibly renovate on this now 20-year-old silver beauty. But the truth is that the potential renovations and updates are endless. Off the top of my head, I can think of five or six projects that we would love to complete. And that’s without even mentioning the fact that we are still using all the original, now 20-year-old, appliances that could potentially need to be replaced at any time.
But I digress. This post is not about a new fridge (boring) or finally figuring out how to replace or repair the broken window cranks (even more boring). Instead, it’s about a brand new, shiny, gorgeous, countertop…and more. Because as everyone who has ever done a home or RV renovation knows, one great idea always leads to another.
We have talked about replacing the countertops for a number of years. In fact, Tim originally proposed it when we did a big reno back in the winter of 2017. The idea was quickly scrapped due to time constraints but it’s been in the back of our minds ever since. Long-time followers might remember that we actually did replace the original countertops before moving into the Airstream. We picked out a nice dark brown Formica with a subtle pattern and used it to replace the old off white with oak trim countertops. And we loved it!
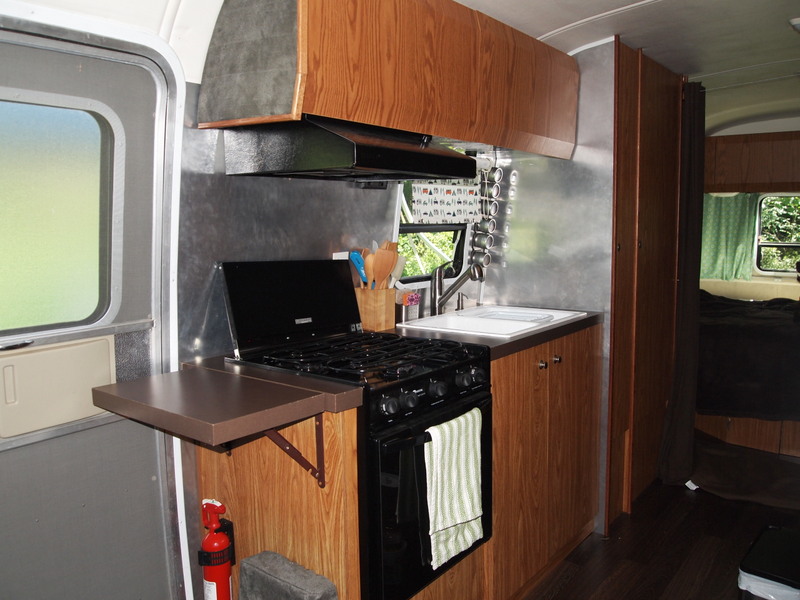
But as tends to happen, over time it developed some scratches and dings, not to mention an unsightly peeling issue on the edges. We’ve also moved away from the original brown-hued color scheme to a much brighter white and grey look.
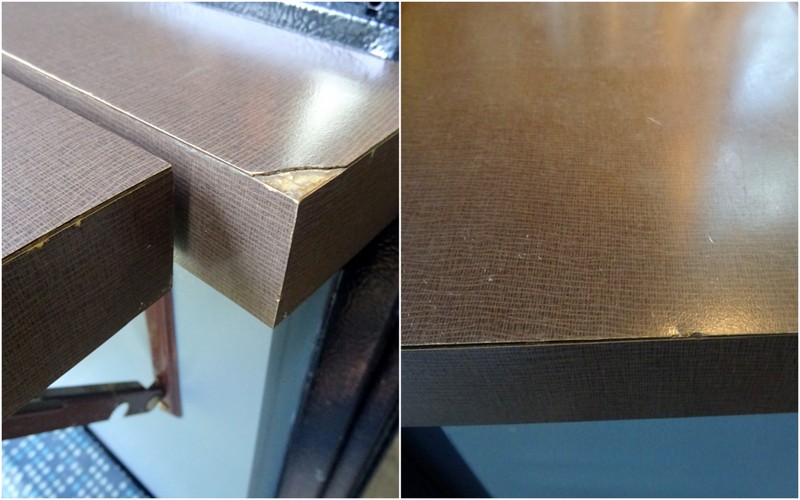
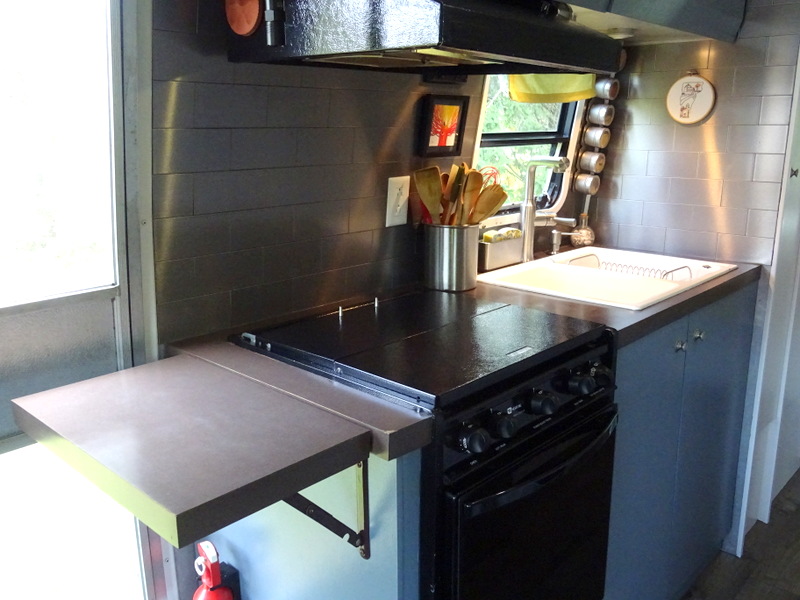
Yet another reason we wanted to replace the countertop was so we could get a new kitchen sink. The sink saga has been going on for years. The original sink was an off-white porcelain double sink. Not sure why Airstream thought this was a good choice for a trailer?
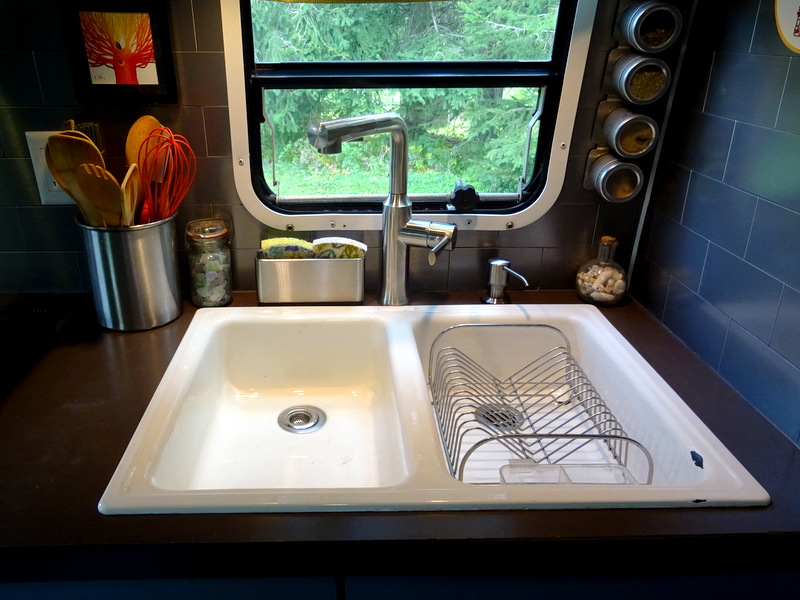
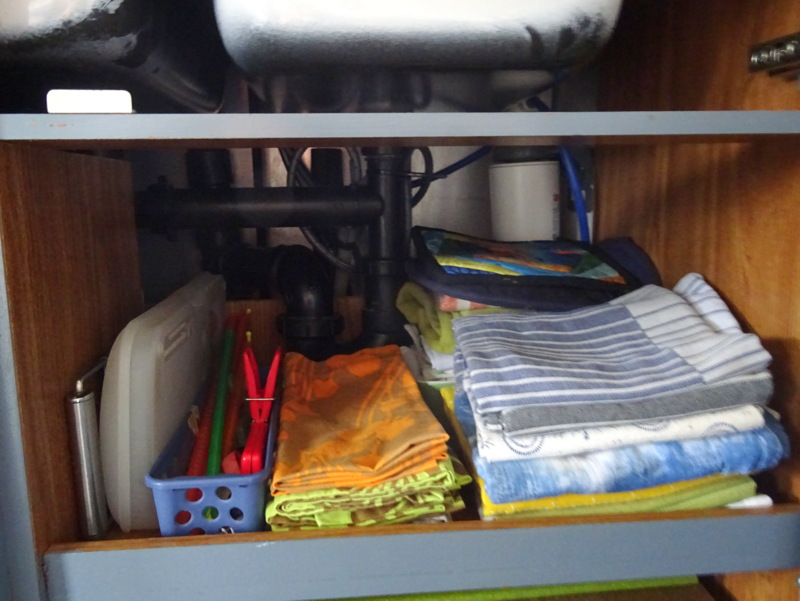
The original sink had several issues. First was the fact that it was white and impossible to keep clean. The second was the depth – of lack thereof. This sink was only a mere five inches deep. Five inches!!! Finally, the plumbing for the sink was inside the cabinet underneath which made for some awkward storage solutions.
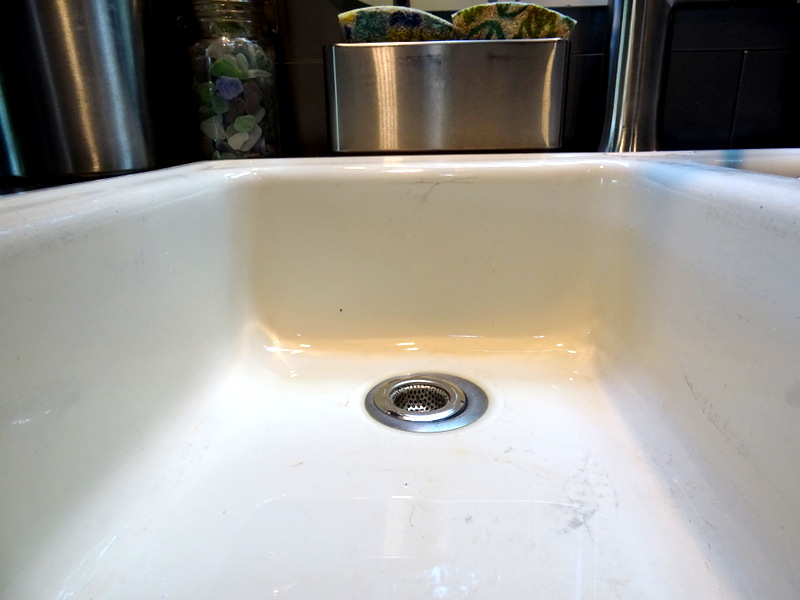
For many years we searched for a new sink with no luck. The problem was that without changing the countertop, and making at least some minor adjustments to the cabinets underneath, we had to find a sink that was the exact same size. A task that proved impossible and also undesirable (due to the measly 5″ depth). So….when we finally decided to pull the plug on the new countertop, it was a given that we would also replace the sink.
You see how it happens right? A new kitchen countertop leads to a new kitchen sink. It’s a natural progression. But wait…there’s more. While searching around for countertop material we came upon a website called SolidSurface.com. This site offers a wide selection of manufactured countertops. Which is basically a fancy way of saying “fake stone”. With the weight of materials always a consideration when renovating RVs, these solid surface, stone-look countertops are a great, lightweight and durable option. In fact, I think Corian (one of the more popular solid surface countertop brands) is an option in many new RVs.
In addition to selling full sheets of manufactured countertops, SolidSurface.com also sells remnant pieces and discontinued styles for deep discounts. I am talking discounts anywhere from 20-60% off the retail price. Which is how we ended up buying a massive 30″ x 136″ piece of countertop for less than $400. With that size piece, we could not only replace the kitchen countertop but also the counter in the bathroom and in the corner of the living room. The snowballing effect was in full swing.
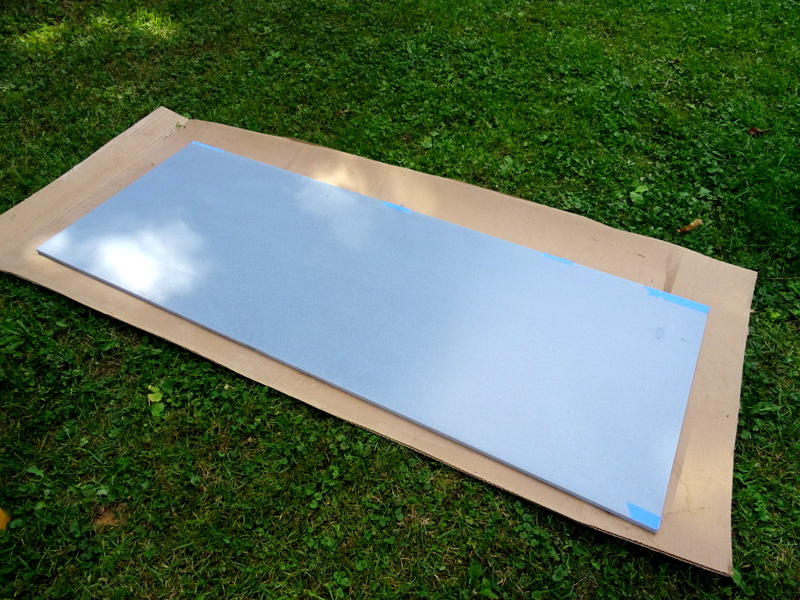
Our countertop was shipped to us via FedEx, but to avoid the additional $135 shipping fee for home delivery (on top of the regular $190 shipping fee) we had to go and pick it up from the FedEx freight center. Not too big of a deal, except that the freight center was an hour away and the countertop was packed in a 12′ long wooden frame.
Fortunately, Tim is fearless when it comes to packing large things in and on top of the truck. We simply took the bikes out of the back and shoved the whole thing in sideways. Driving an hour on the interstate with the tailgate of the truck open with a large wooden crate sticking four feet out the back was a bit nerve-racking (especially when it started raining), but we made it without incident.
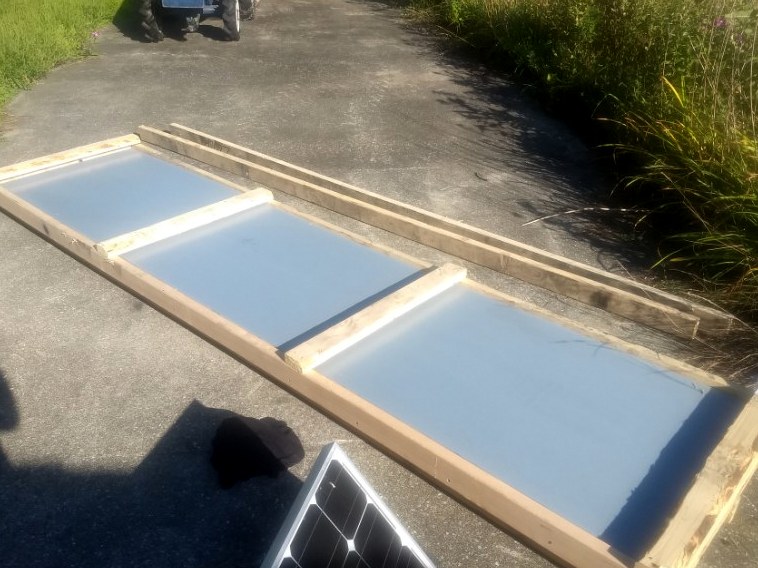
Then the countertop sat and waited for a few weeks. Replacing the countertop was going to require being without a kitchen for several days at least so the original plan was to do it while parked at our friend’s house in Cambridge in case we needed to borrow their kitchen. But it didn’t arrive until a few days before Tim left for a week-long work trip, then we were away for a weekend camping trip, and the whole project got pushed back. Which meant we now needed to transport it from Cambridge to Monkton where we planned to spend the next month with family. Putting it in the back of the truck was no longer an option, so we decided to remove it from the wooden frame, cut it into two pieces and store it on the Airstream floor for travel.
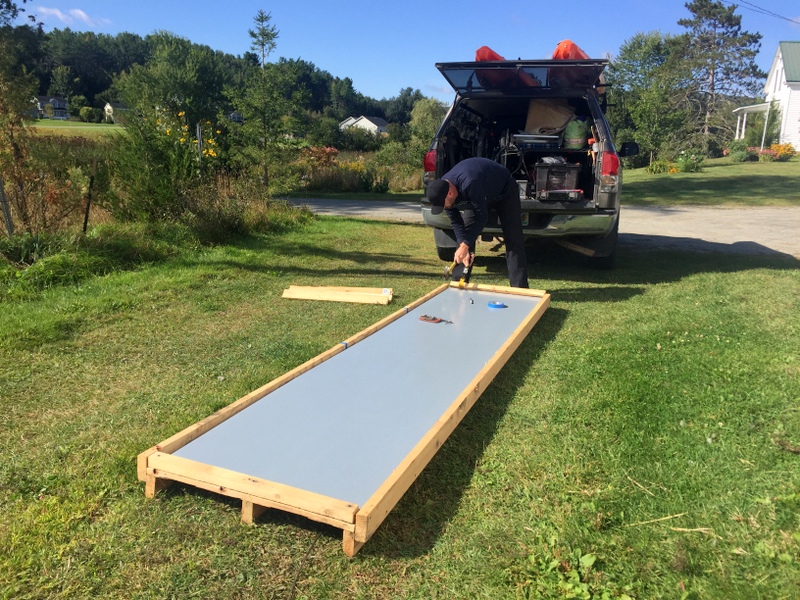
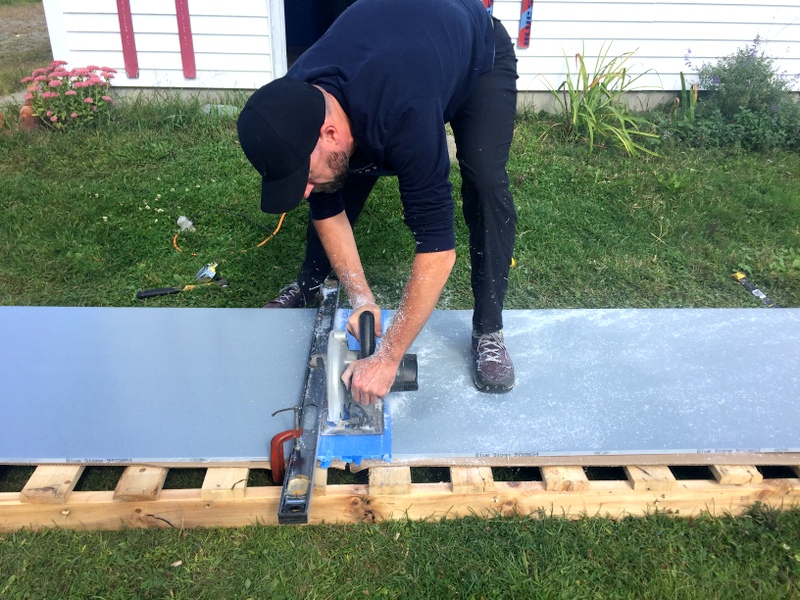
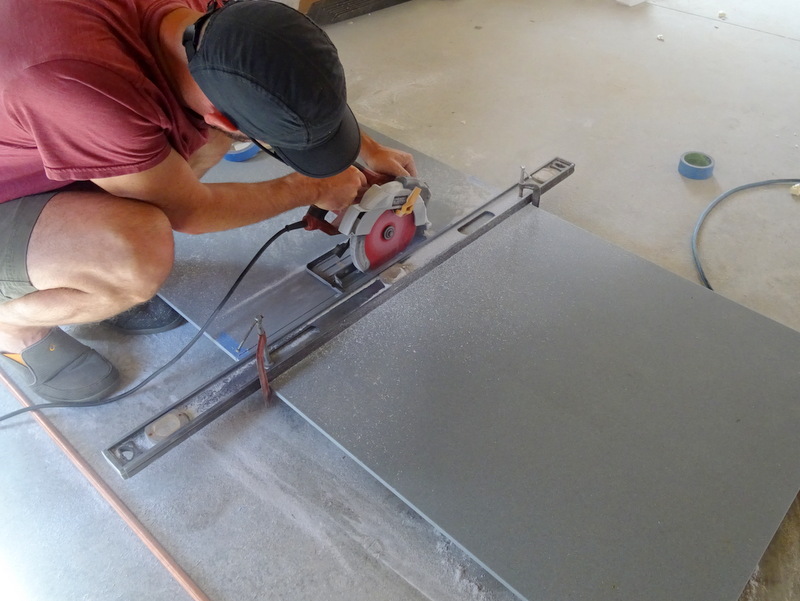
The first cut was a little nerve-wracking. Tim did some online research and discovered that a circular saw with a carbide blade was the best method for cutting. He ordered the blade from Amazon and a borrowed saw to make the cut. It went better than expected and the saw cut the through the countertop material with ease. One concern was that the saw would scratch the top of the counter as it slid across. Tim avoided this problem by covering the area under the saw with painters tape. One thing we learned was that cutting the countertop makes a big mess and is best done on a surface that can be swept – not on your friend’s nice lawn.
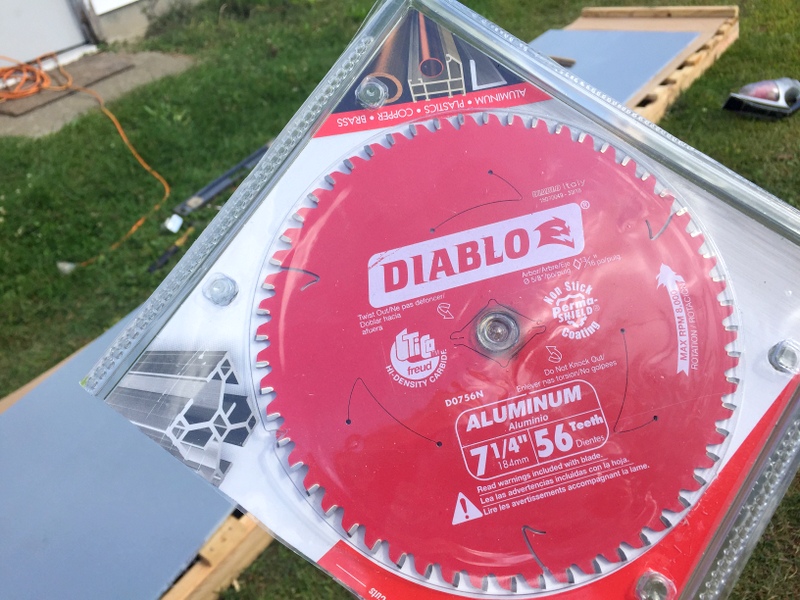
The countertop then traveled with us to Monkton, where we unloaded it and stored in on some cardboard under the Airstream for a few weeks. During that time, Tim worked on cutting and prepping all the individual countertop pieces. The kitchen piece was the largest and most complicated with two square cutouts for the sink and stove, plus round holes for the faucet and soap dispenser. He used the same carbide-tipped saw blade to make all the edge cuts and a hole saw in the corners of the cut-out areas, followed by the circular saw to finish it off the straight cuts.
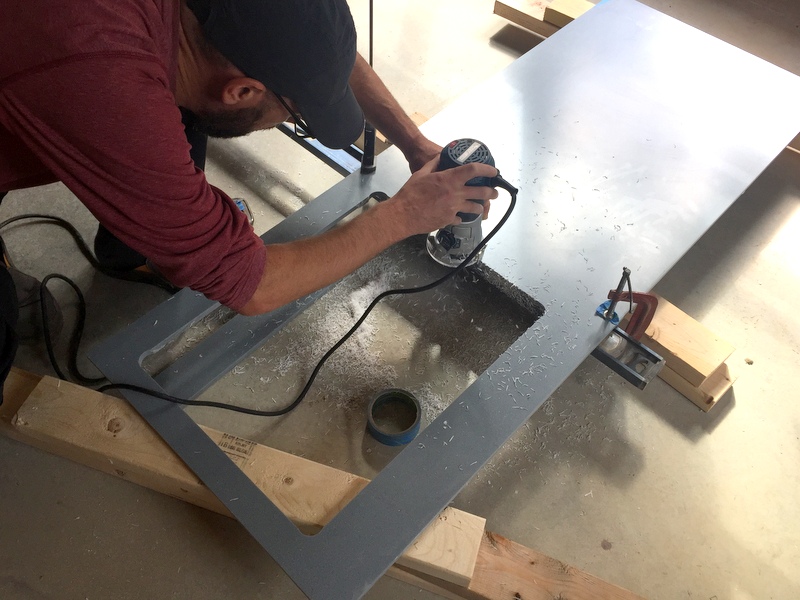
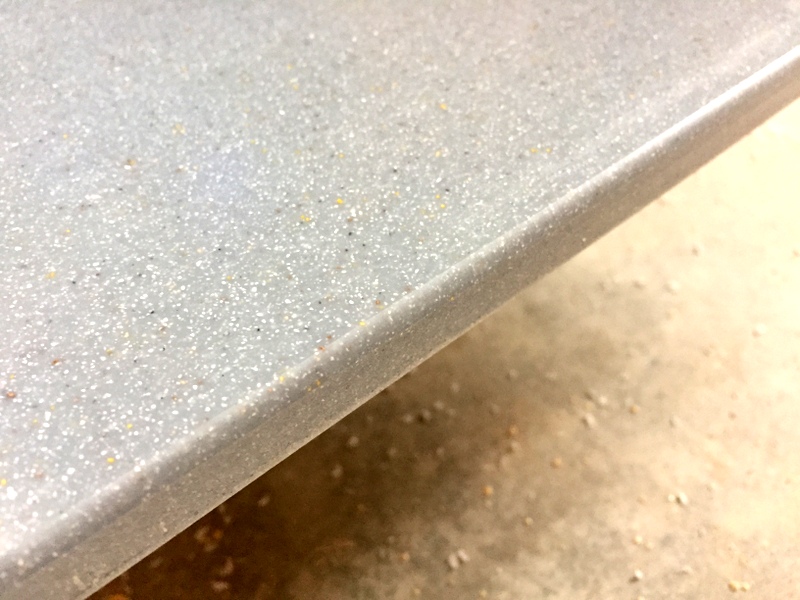
We decided on a smooth, slightly rounded edge for the countertop as well as the edges around the inside of the hole where the sink would be. To achieve this look Tim used a router with a curved bit. The finishing touch was sanding the edges and top with a series of sandpaper grades followed by a final polish with the leftover grade 3 polish we used on the Airstream. It was a lot of work and we’re thankful for all the borrowed tools that made it possible.
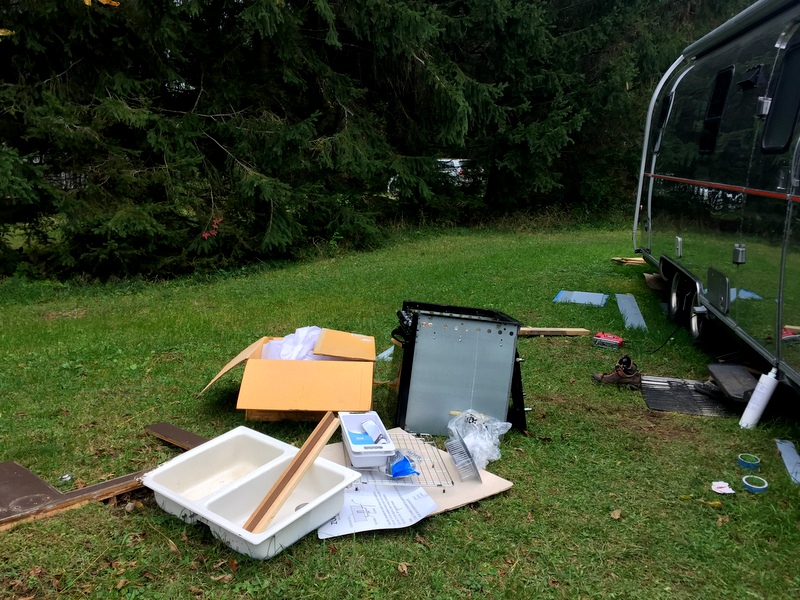
In the meantime, we had been busy ordering all the parts and pieces needed to complete the project and soon there was nothing left to do but rip the old kitchen apart.
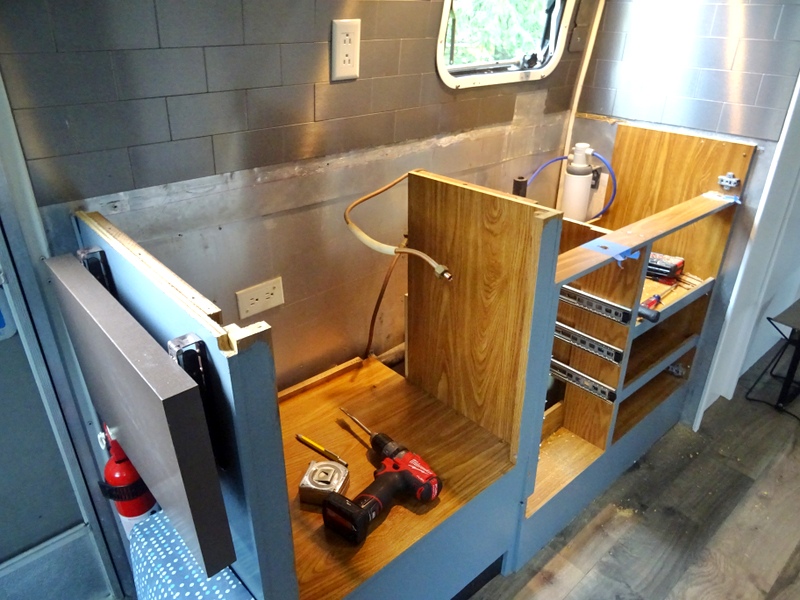
The new counter installation went fairly well. The biggest challenges were figuring out how to attach it to the wall and how to under-mount the sink. Most under-mount sinks are attached to the underside of the countertop before the counter is installed. That wasn’t going to work in this situation because we didn’t want the full weight of the (very heavy) sink to hanging off the countertop as we bounced down the road. When your house regularly rattles and shakes, sometimes things need to be done in unconventional ways.
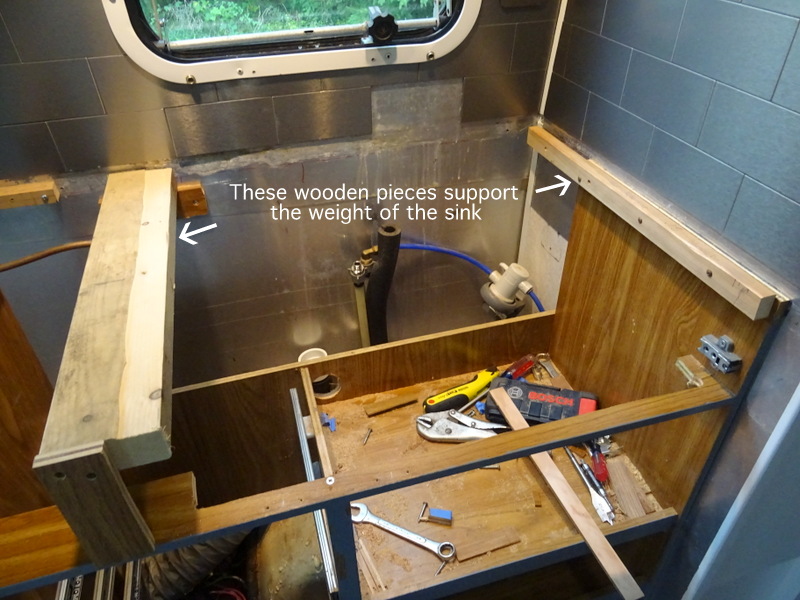
The solution Tim came up with was to build a support system under the sink where the lip could rest on. He then attached the sink to these supports and placed the countertop on top of the sink with a bead of silicone to seal it all up.
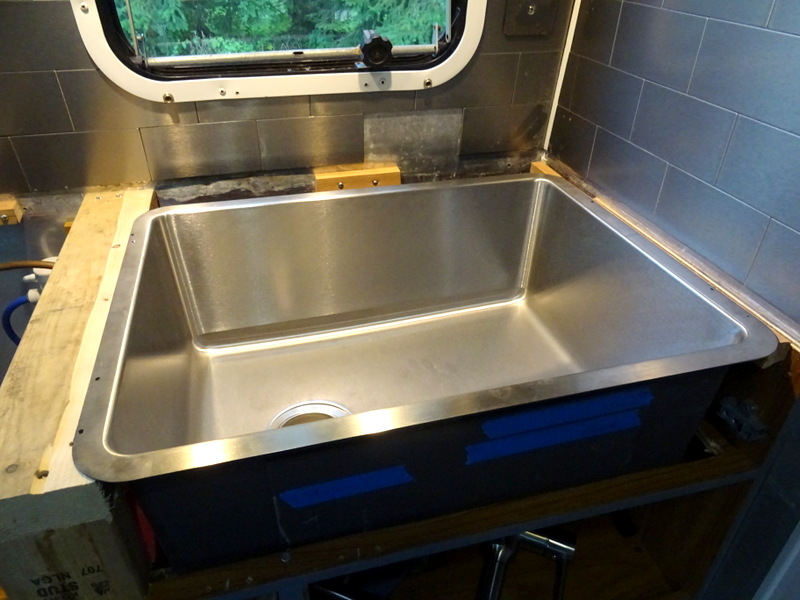
The counter installation also required a bit of ingenuity. The old countertop was screwed both into the sidewall of the Airstream and from underneath to the wooden supports below. But since the new countertop was only a half-inch thick that wasn’t going to work. Instead, Tim installed additional cleats around the edges, let the countertop rest on those and used a combination of silicone epoxy and metal brackets to hold it in place.
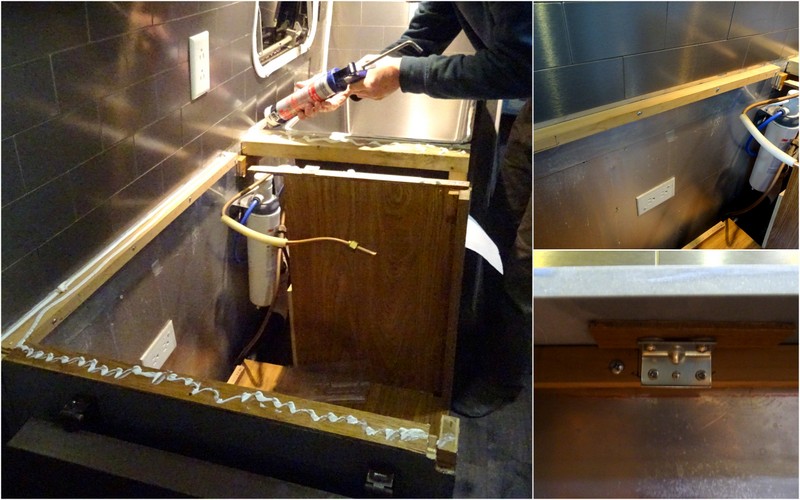
The whole process of installing the kitchen countertop and sink took about four days. Well, one full weekend day and three after-work sessions. During this time we had no kitchen, and for a few days no propane because the stove was removed so it had to be turned off. Thankfully, we were able to use the kitchen is my family’s RV (they are living in their RV while building a house) and mid-way through Tim put the stove back in temporarily so we could have hot water for showers. The access to another kitchen was a big reason why we decided to tackle this project while in Vermont. We also created a lot of noise and a giant mess, making this most definitely not a campground friendly project.
The final part of the kitchen update was to install a new flip-up countertop. I love my flip up. In fact, I am pretty sure the kitchen would be nearly useless without it. Which is why I was thrilled when we discovered that there was room to make it a tiny bit bigger!
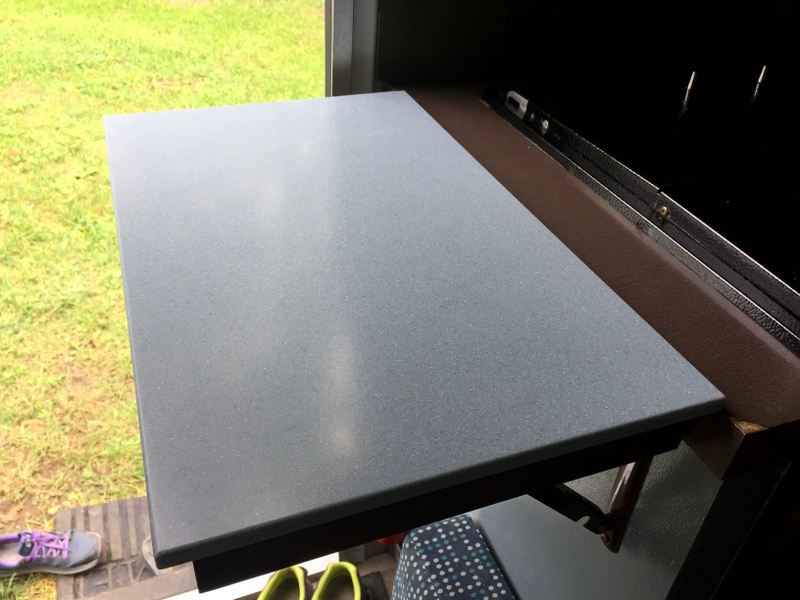
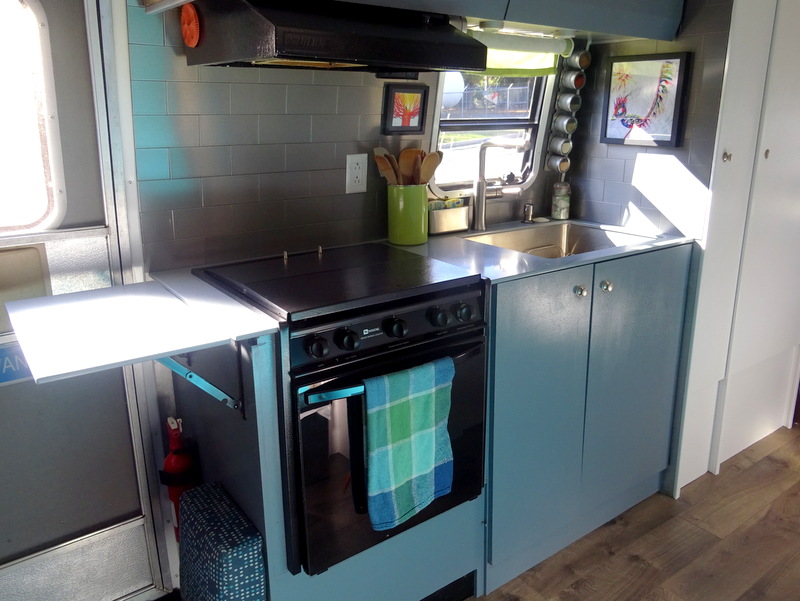
In addition to the larger flip-up, we also gained a full four-inches of counter space between the stove and the sink. That might not seem like a lot, but when you’re going from a measly 7-inch slice of counter to a full 11-inches of usable space, it’s a really BIG deal!
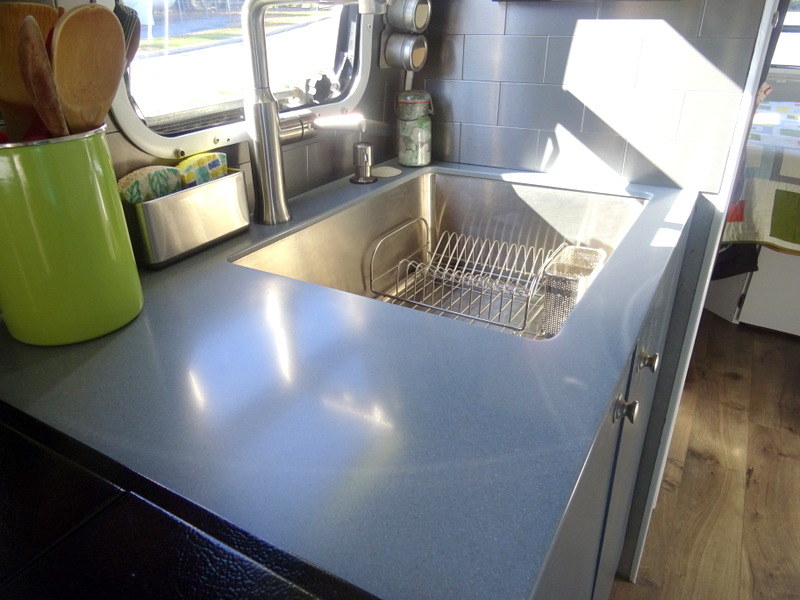
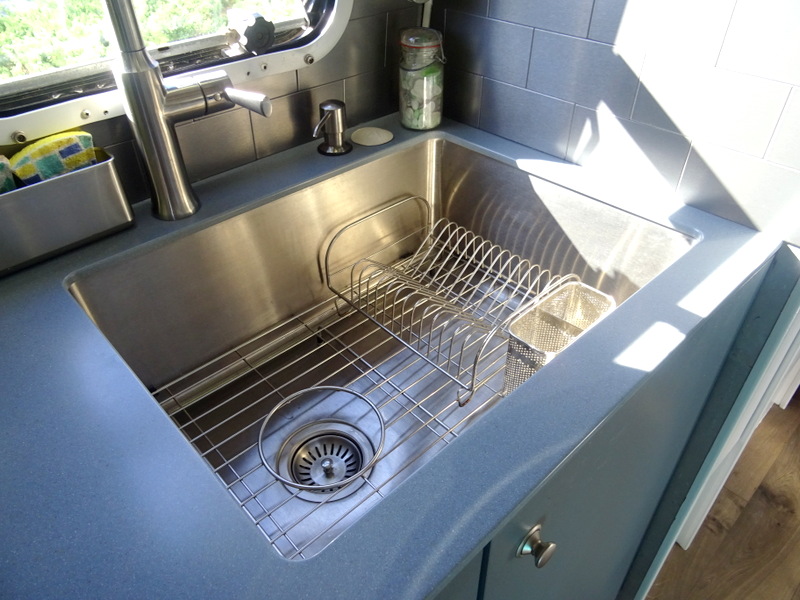
The way we gained this space was by moving the sink roughly two inches closer to the wall. Also, because the sink is mounted under the counter, the space that was previously occupied by the lip of the sink is now usable counter space. It might sound like I’m being dramatic, but the truth is that this larger area of counter has totally changed the way I use the kitchen.
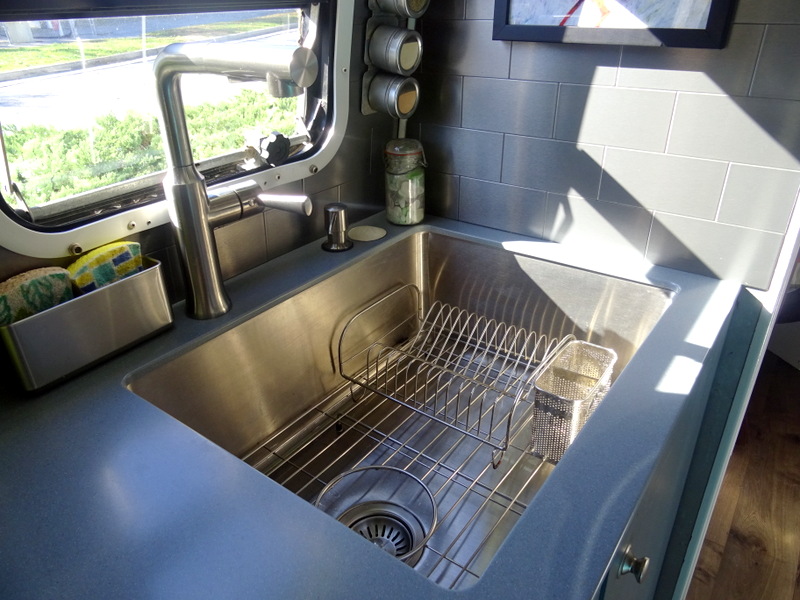
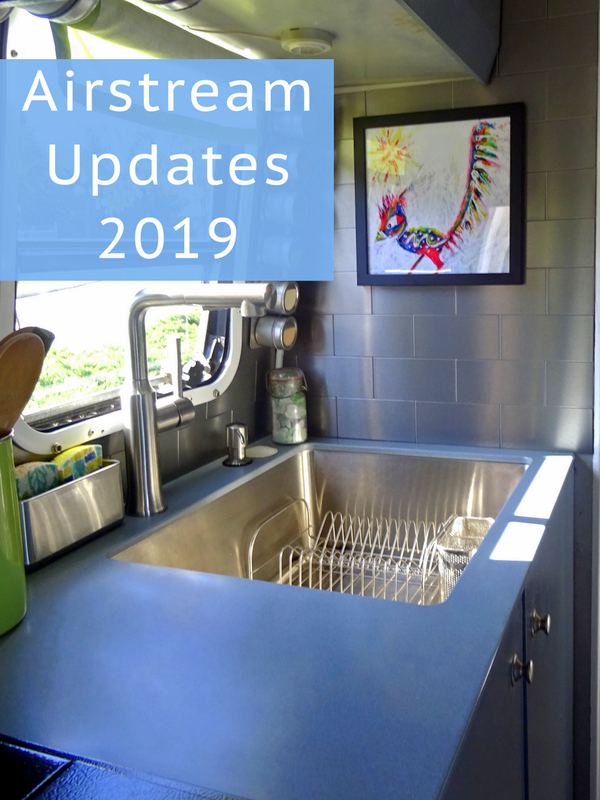
Isn’t the new sink gorgeous? I can’t say enough good things about this sink. The easy to clean stainless steel surface and the generous 9″ depth make it so much more user-friendly than the old one. Even though it looks much larger than our previous sink, the dimensions are actually the same (except for the depth), but without the center dividing piece, we’ve gained some extra space.
The sink came with a metal rack for the bottom and at first I was sure we wouldn’t use it, but I gave it shot and after a few weeks I am really liking how it keeps the sink cleaner and allows me to set my cast iron pan in there without worrying about scratching the sides of the sink. I also kept my old dish drainer and there is plenty of space for it on the right side of the sink. It’s nice to have a dedicated place to put the dishes while they are drying without having to use precious counter space.
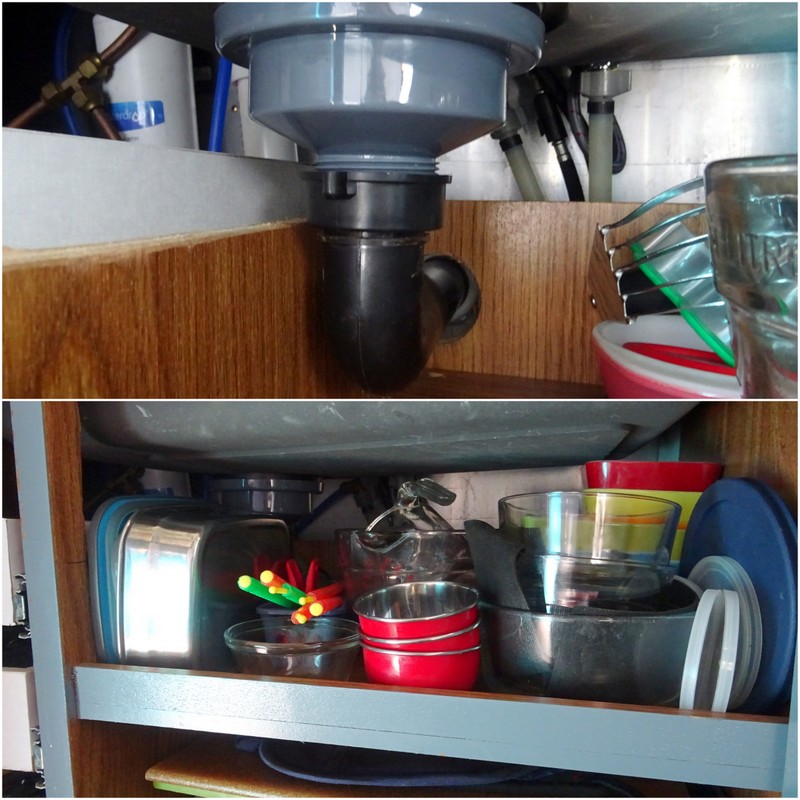
Under the sink, we did lose some space due to the increased depth, but as that shelf was never full to the top anyway it has not been a big deal. And while the new drain pipe still intrudes into the cabinet, Tim was able to move the large curly P-trap behind, leaving only a small section of pipe inside the cabinet.
Here it is! Airstream kitchen – the 2019 version.
With that done, it was time to move on to the bathroom. Here’s what it looked like before. In addition to brightening up this tiny space with a new countertop, we also wanted a bigger sink. The old one was so small that it was impossible to use without splashing all over the place.
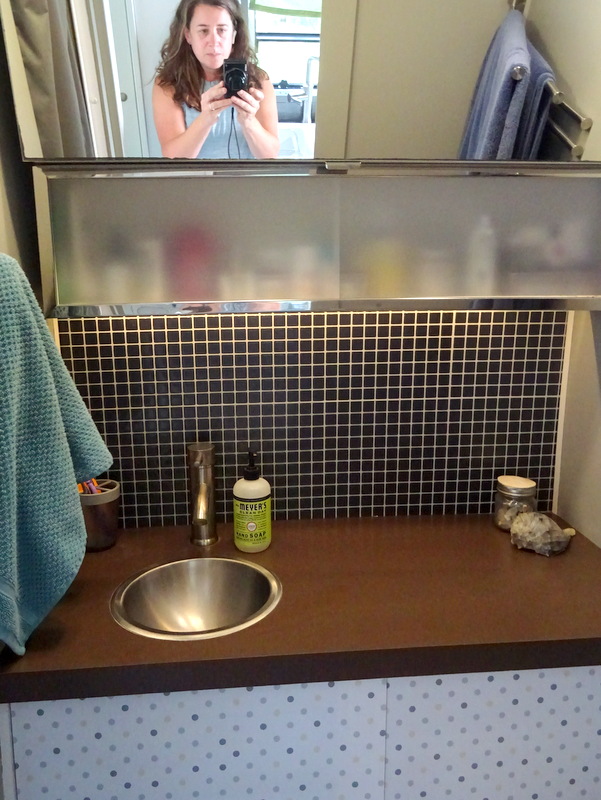
Compared to the kitchen, the countertop in the bathroom was fairly straightforward. It’s basically a rectangle with a single hole cut in it for the sink drain. Why no hole for the sink? Because we decided to go with a vessel sink. Mostly because we liked the look, but also because it meant that we could have a bigger sink without taking up valuable storage space under the counter.
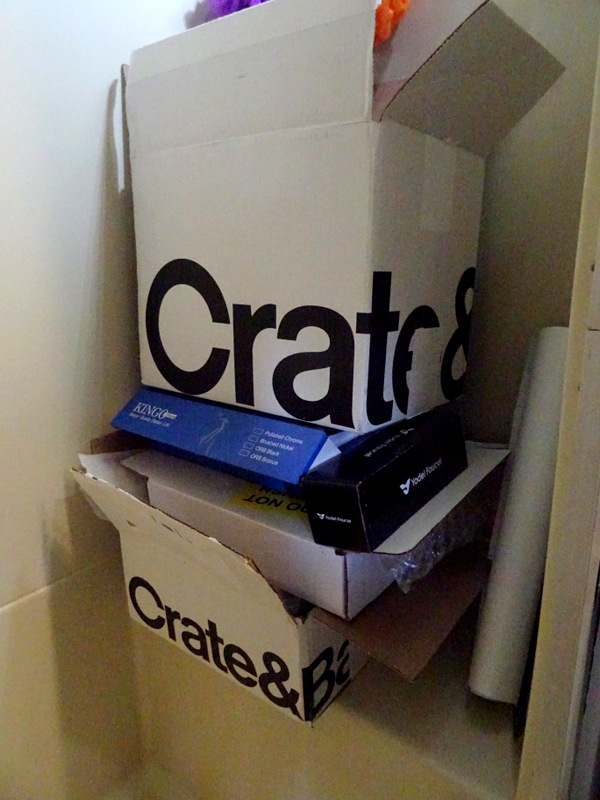
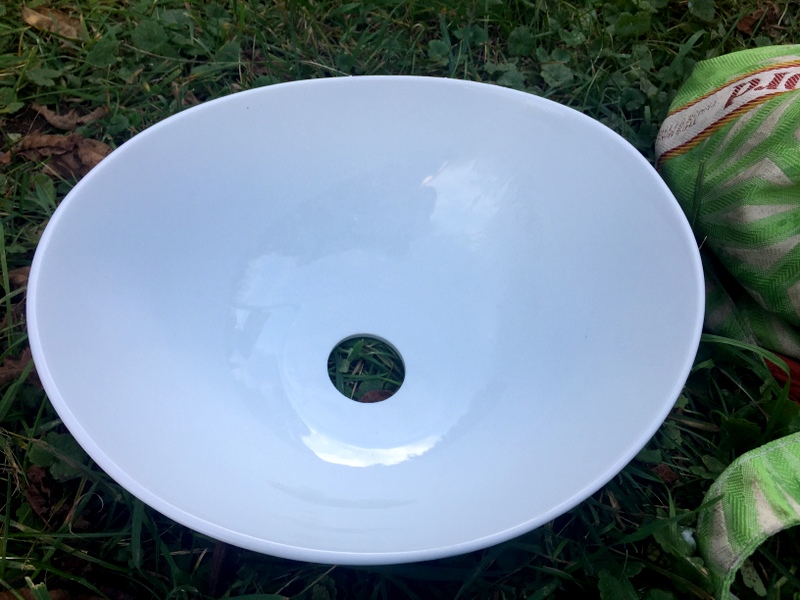
We could have purchased a traditional vessel sink, but I got it in my head that I wanted to make my own. So I found a bowl I liked on Crate & Barrel, bought a drain to go with it, and did some research on how to drill a hole in a ceramic bowl. Turns out all we needed was a diamond bit hole saw that matched the size of the drain. No problem. Amazon has those. With only a little trepidation, I held the bowl steady while Tim drilled the hole. It was a slow process, but eventually, we had a hole and the bowl stayed in one piece.
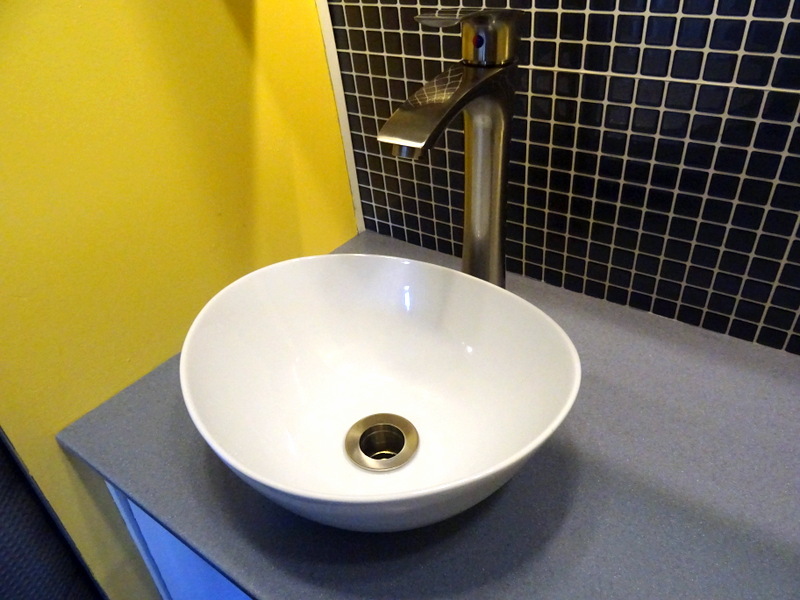
From there, it was a simple matter of installing the countertop, sink, and new taller faucet. Once again, Tim made a small shelf for the counter to rest on and used a silicone epoxy to hold it in place. This counter also got a thin piece of countertop material glued to the front side that acts both as a support and a place to attach the metal sliding door track.
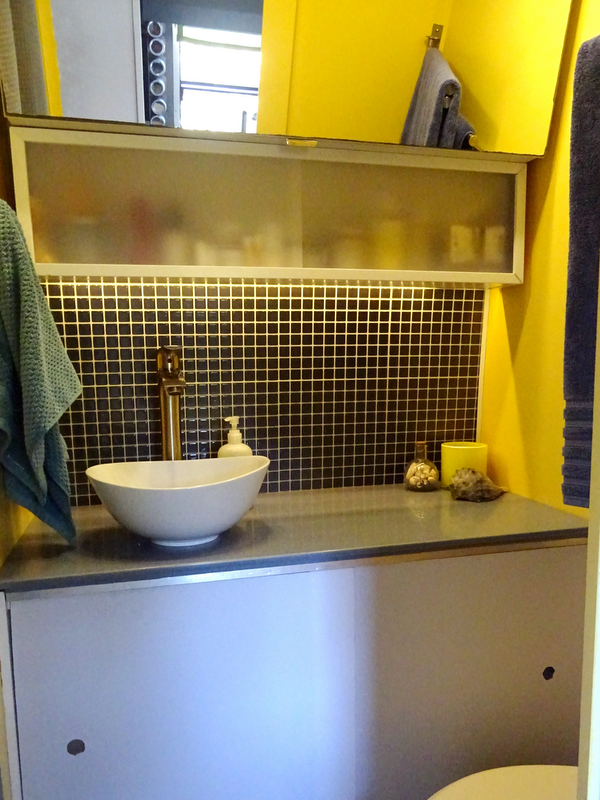
The finishing touch was a new coat of yellow paint to added a pop of color and break up all the white & grey.
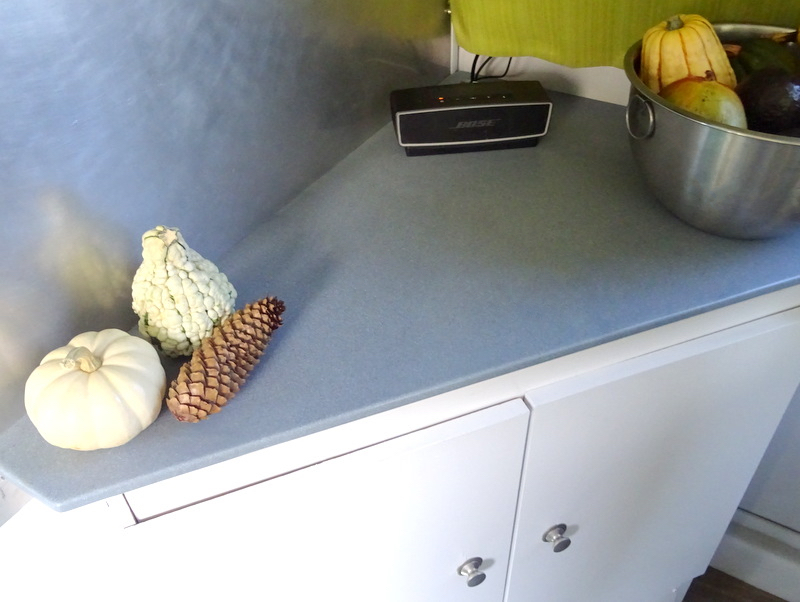
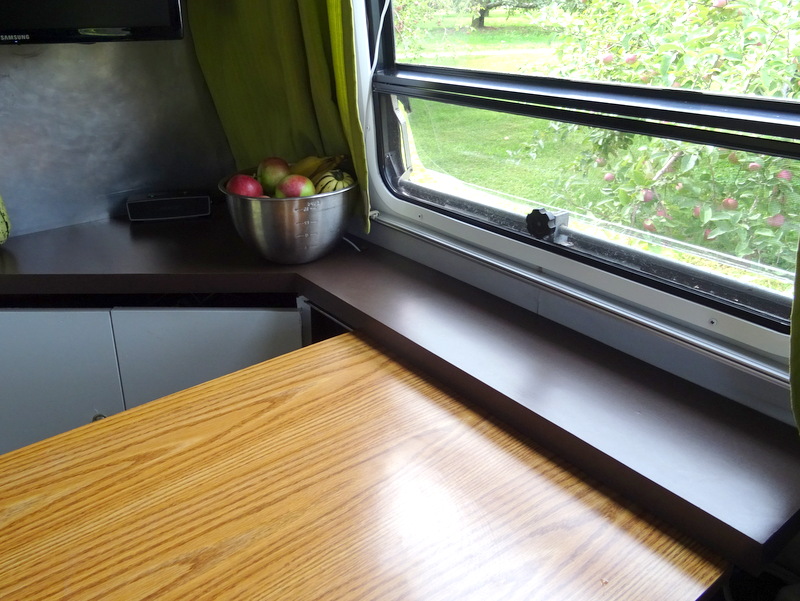
The final piece of countertop to install was in the corner of the living room. This piece not only covers the corner cabinet, but it also stretches across to the couch and acts as a support for the table slide.
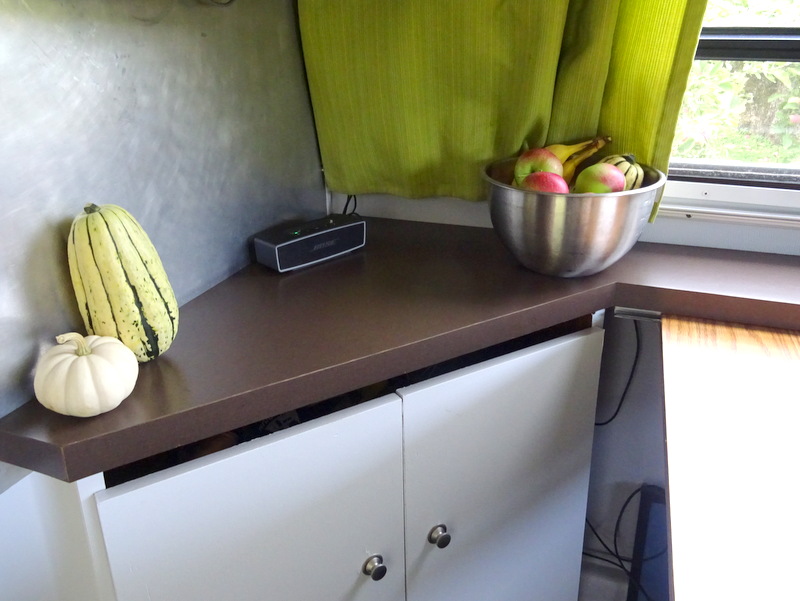
The same installation process as in the kitchen and bathroom was used with a combination of cleats and metal brackets holding it in place. The table slide was drilled to the bottom of the counter, and we were back in business!
Well, almost. At the last minute, I came up with one final project to complete this round of updates. For years I’ve been wanting to replace the old laminate tabletop. I’ve never liked it. And I liked it even less once all the old fake oak cabinetry was covered up. The problem was we couldn’t come up with a good replacement option that wasn’t too complicated to make ourselves, too expensive to justify purchasing, or too heavy to be practical in an RV setting.
I was really determined to replace that ugly old beast though, and I devised a plan to make a simple tabletop out of plywood. Tim flat out said that he had no extra time to take on more projects, so I was on my own for this one. Well, kind of on my own. He did come with me to Lowes to buy the wood because there was no way I could get a full piece of plywood in the truck by myself. I had picked out a nice looking piece of light-colored plywood with an interesting vertical grain pattern.
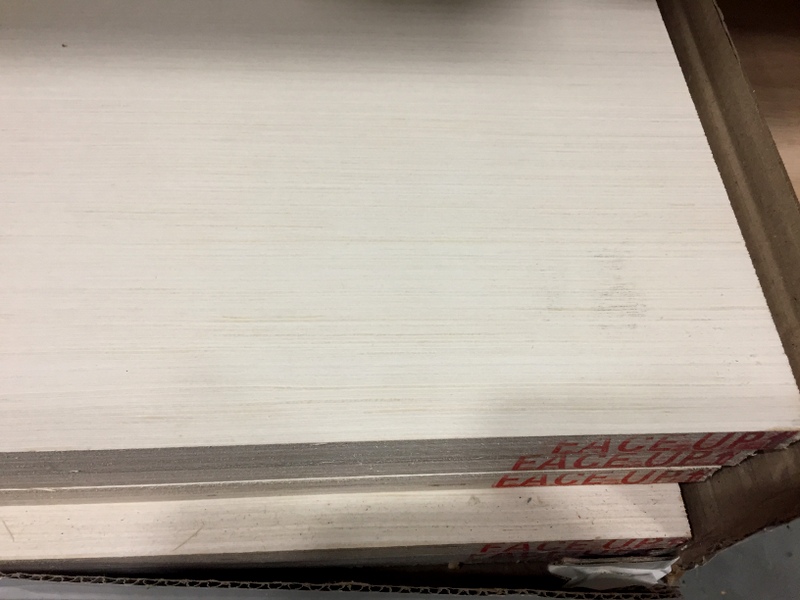
The plywood cost $50 and we had to buy the whole piece even though we needed less than half. But we agreed that $50 for a tabletop was a pretty good deal. Next, I had my stepdad cut the piece to size on his table saw (see what I mean about the “kind of on my own” part). Then it was a matter of sanding, staining it a light gray color, and sealing it with multiple coats of polyurethane. The whole process took several days and for some reason, I didn’t take a single photo until the end.
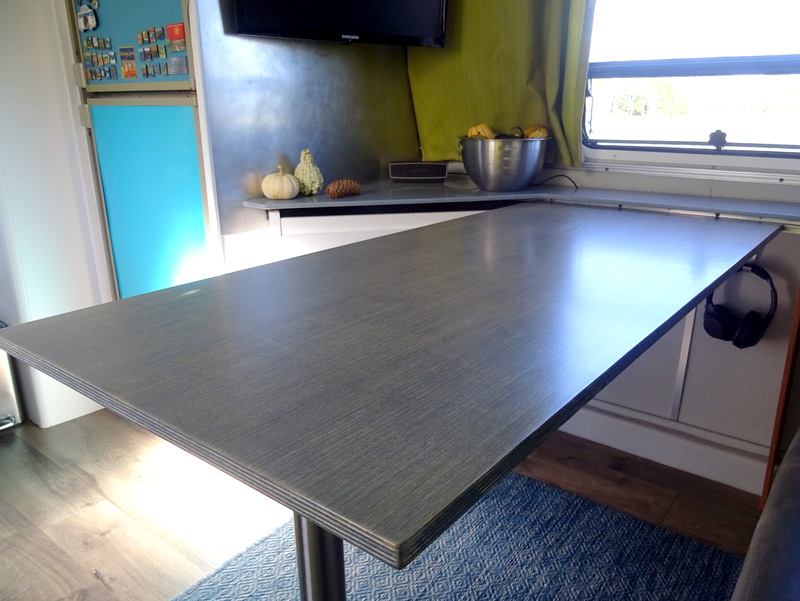
I think it came out pretty nice and I am really glad I pushed to get it done.
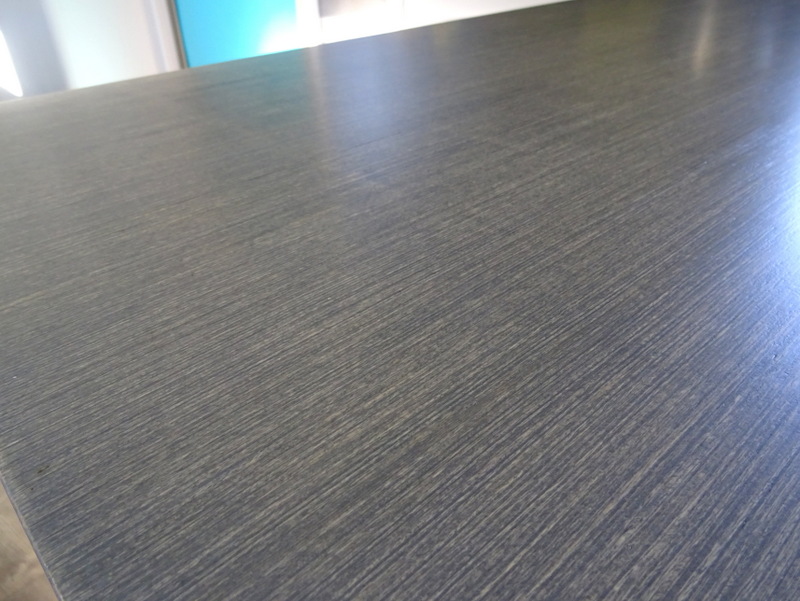
With some of the extra plywood, I also made a new top for my side office table.
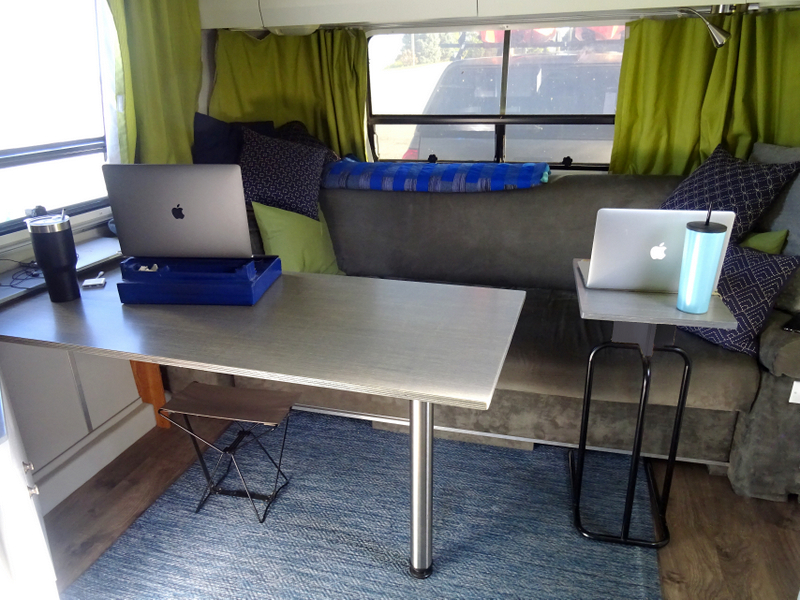
And that’s it! Another round of Airstream renovations complete. It’s been several weeks and quite a few miles since we finished. So far we’re loving all the changes and nothing has fallen off or come apart while rolling down the road.
If you want to see all the updates we’ve done to the Airstream over the past eight years, head on over to the Airstream page.
Here are all the products we used in this renovation. Some are Amazon affiliate links. We receive a small portion of funds when you purchase items through these links. The price you pay is the same, and all the money goes to support this blog. Thanks so much for reading and following us on our journey!
Kitchen Sink:
ZUHNE Stainless Steel Sink 24 x 19-inch Under Mount
Kitchen Sink Faucet:
Kitchen Faucet With Pull Out Sprayer in Stainless Steel
Bathroom Sink/Bowl:
Large Swoop Bowl
Bathroom Sink Drain:
Yodel Vessel Sink Pop up Drain
Bathroom Sink Faucet:
KINGO HOME Single Handle Tall Vessel Sink Bathroom Faucet
Roadrunner Spirit Animal Print:
Howard Weliver Fine Art

17 comments
Wow, you guys are motivated!! The new countertops, sinks, and table are beautiful. It’s fun to see the before-and-after photos all the way from 2012.
Did you have to shop vac the lawn, LOL?
Motivated or crazy..not sure which one is more accurate! It is kind of amazing to look back and see how different it looks now compared to 2012. Funny enough, I did break out the vacuum to clean the countertop bits from the lawn!
Looks great you two! Enjoy! Safe travels – see you next time when you’re in CT or RI! xo
Thanks Louise! Sorry we missed you this fall, but we’ll be back that way again!
Wow, wow!! What a great job, Tim and Amanda!! Kitchen looks so nice. That bathroom sink is so cool! Very clever, Amanda!! Love your “new” table!! The grey stain came out so nice.
Thanks so much Pam! Even though it made for a hectic few weeks, this really was a fun project and we enjoyed coming up with some creative ideas.
We anxiously await the info on replacing or repairing those window cranks….until then one rear window on our 97 safari will remain taped up…..
We’ll be sure to share details when (and if) we figure a solution to the worn-out window cranks. We too have a rear window with tape keeping it shut!
Hi! Page 90-92 of “The (nearly) Complete Guide to Airstream Maintenance” by Rich Luhr outlines in detail how to replace the window cranks.
Thanks!
I LOVE all your renovations! A lot of skill and hard work! Beautiful choices!
I’m thinking of doing the vessel sink mod in my airstream. I’m concerned about securely mounting it. Did you do anything special when you mounted yours, and have you noticed any issues with bumping / vibrations while driving serving to nock the sink loose? Thanks in advance!
We didn’t use any adhesive on the sink, just some clear caulking around the base after it was put in place. Nearly a year later and we’ve had no signs of movement.
Just curious. Can you still fold the table up and away. It is beautiful!
Thank you, and no it does not fold. We actually removed the ability for the table to fold many years ago during a previous renovation. We never found a need to fold it, and after lifting the counter the table slides all the way back toward the fridge in the event we need to move it out of the way.
Thank you for the great post!! We are renovating an older airstream and need to replace the cabinets and countertops. We might look into doing the same now :)
Great! Don’t hesitate to reach out if you have any questions during the process.