Spending an entire month in one location has given us the opportunity to complete some home improvement projects. A few long planned, and a few spur of the moment. First up was some new lighting in the living/dining/office area.
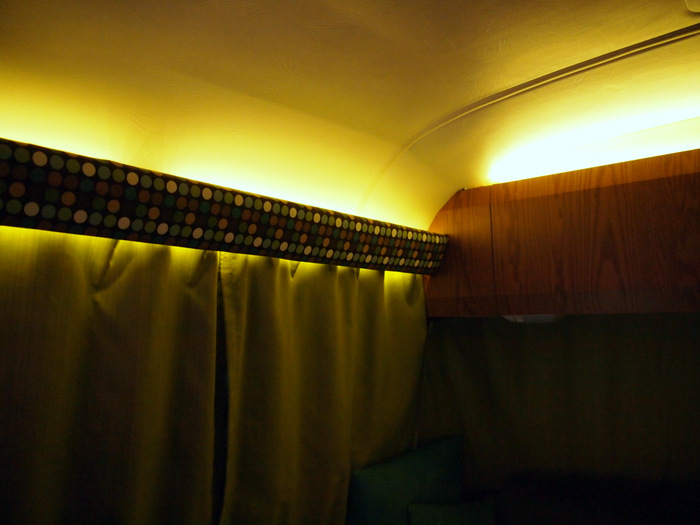
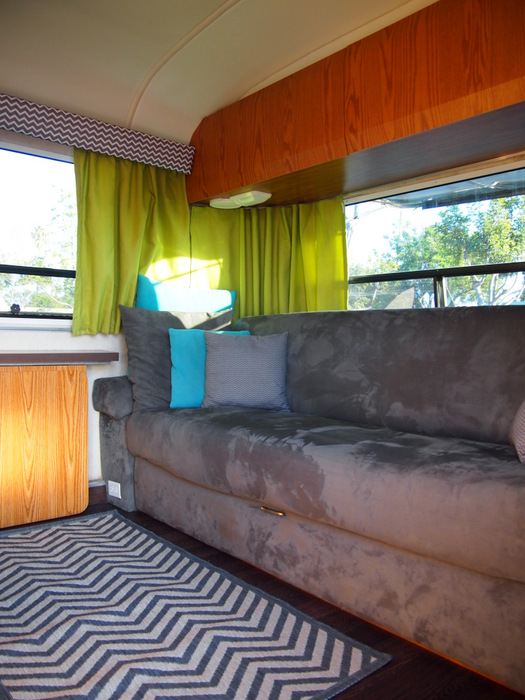
This very cool lighting is comprised of a strip of warm LED lights that are mounted behind the curtain valances and above the over-the-couch cabinet. The strip came with a sticky back, but the sticky part wasn’t so sticky, and after just a few days started to come un-stuck. A few dabs of super glue fixed that right up. The best part of these lights is the dimmer switch that allows us to go from bright and cheery to dim and relaxing. Oh, and the dimmer has a remote. Pretty cool right? These have become our everyday lights and we find them much more useful then the colored strip of LEDs that we used to have above the couch.
Next was a new rug.
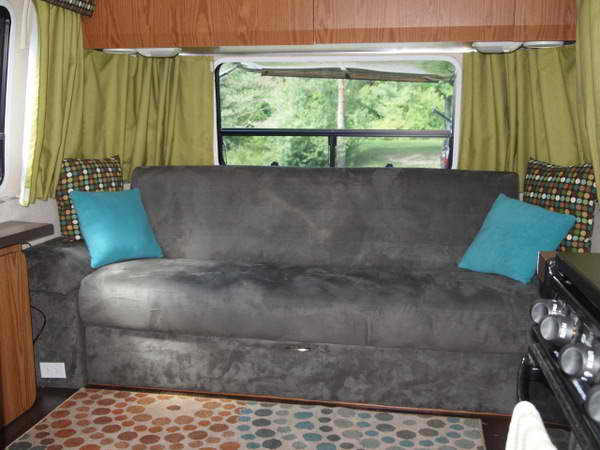
Previously we had a larger, plusher rug in the same spot. While we loved the pattern and the way it felt on the feet, it wasn’t really the perfect fit for the space. First off, it was a pain to clean, and the large size meant that every time we walked through the front door we stepped on it. Which led to a section of rug that was always dirty and matted down. This new rug is a huge improvement. Not only is it smaller, which means farther away from the front door, but it’s also flatter, more durable, and much easier to clean.
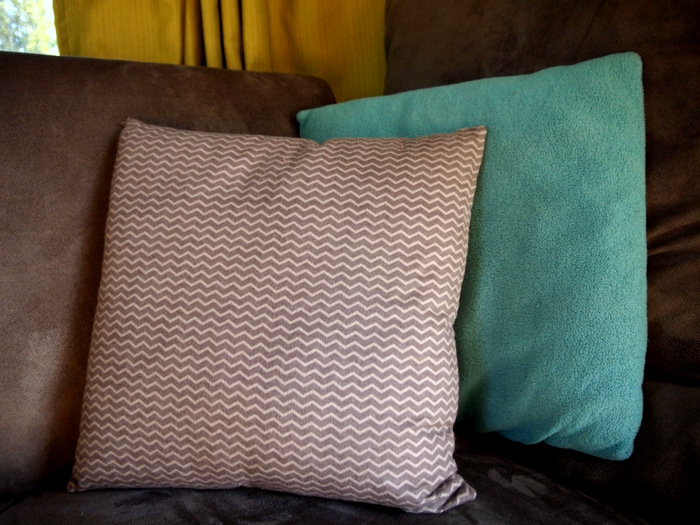
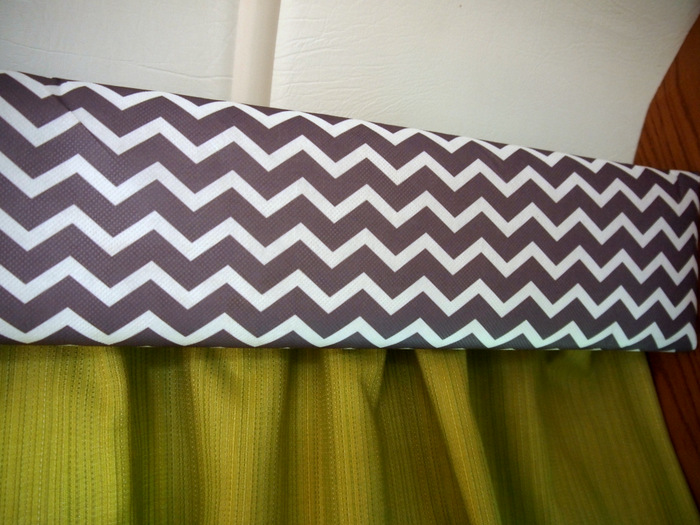
There was one problem though. The new rug with its grey & white chevron pattern clashed with our circle patterned pillows and curtain valances. Naturally, the next step was then new pillows and window valances. Lucky for us I know my way around a needle and thread so these two projects were both simple and cheap. A few yards of fabric and two evenings of sewing later and we had a whole new living room.
In the middle of the project I was afraid that using the same pattern in three places would end up looking too matchy-matchy. But in the end, the patterns were just different enough to prevent a repetitive feel. We love the new, refreshed look and are very happy with the results.
Here’s the new lighting with the new valances.
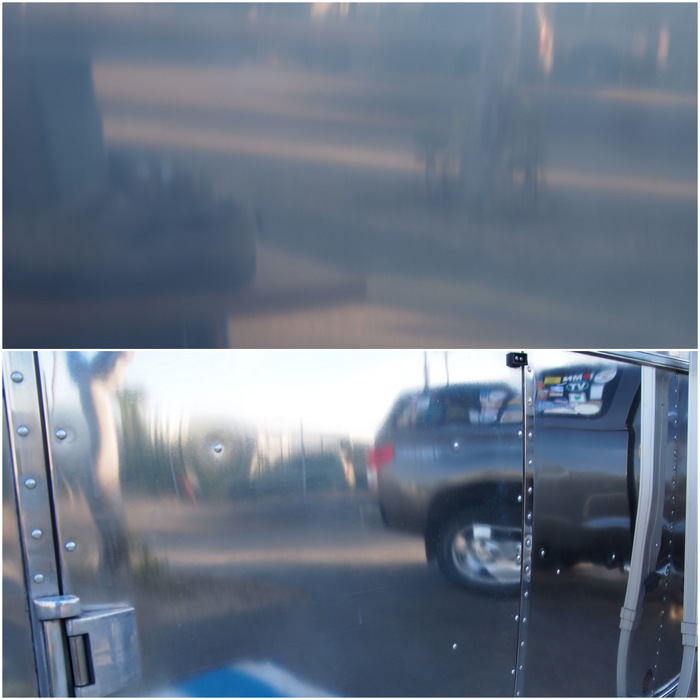
The other project is an ongoing one that we should have done a looooong time ago. Hand polishing the Airstream is not fun, but the results speak for themselves.
So far we’ve only polished a few small sections, but it wasn’t too difficult or time consuming so hopefully we can find the time (and motivation) to finish the job.



9 comments
Don’t you just love it when a plan comes together? I love your new valences and rug. We were not so brave to cover our cornice boards with a pattern…too afraid it wouldn’t line up right. You did an awesome job!
I also have to say how sorry i was to read about Phineas. I always enjoyed your pictures of him especially in the water. He was one fine fellow!
Thanks! The pattern was not too challenging since only one of them was long enough to need more than one piece of fabric.
I’m interested in the LED lights. I’d like to do the same with our trailer. Where did you get them? Are they 12 volt lights?
Dan- The lights are from Amazon. They are 12 Volt. You can find them here
http://www.amazon.com/gp/product/B002QQ48TK/ref=oh_details_o00_s01_i05?ie=UTF8&psc=1
Here is a link to the connectors we used since we cut them in 3 different pieces.
http://www.amazon.com/gp/product/B0062RBR84/ref=oh_details_o00_s01_i04?ie=UTF8&psc=1
And here is the link to 2 different dimmers. The first has a remote, but the box is really big. http://www.amazon.com/gp/product/B00851KVAK/ref=oh_details_o00_s01_i00?ie=UTF8&psc=1
The second is a smaller box, but no remote.
http://www.amazon.com/gp/product/B00CE6FXTG/ref=oh_details_o00_s00_i02?ie=UTF8&psc=1
Good luck! Let us know how it works out for you :)
It looks great you guys!
Thanks! Can’t wait to show it to you in person :)
Love the valances with curtains! It all looks wonderful!
Hi Amanda,
After seeing this post, I bought the LED strip lights and dimmer on Amazon, but when I connect the dimmer to the plug end of the strip and connect the red/black wires to 12V, they light up but wont dim…
Any advise on what Im doing wrong? It seems kinda odd that the dimmer is on the end of the strip (actually its on the opposite end from the power source).
I only bought ONE strip of lights and ONE dimmer unit (without remote style)
It is odd the way they have the light strip wired from the factory. You need to remove power from the black/red wires at the far end of the light strip and then provide power via the other side of the dimmer. If you don’t have a barrel plug for that end of the dimmer, you can do like me and cut it off (leaving some wire still sticking out of the dimmer). You will find a red and black wire to attach the 12v to.